This January (2016) I decided to invest in a 3D printer. I love tinkering with things and the opportunity to design, build and test my own design was too difficult to overlook. Besides, 3D printers have gotten to be quite reasonably priced and their quality has increased significantly in the last couple of years. After some extensive research I decided on a Zortrax M200. 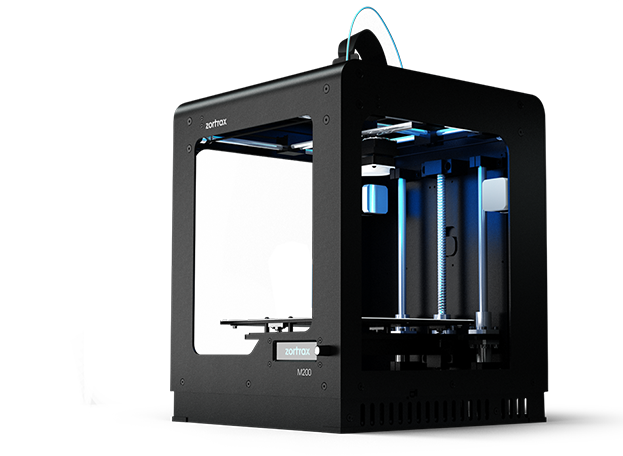
Dimensions:
- Without Spool: 345 x 360 x 430 mm [13.6 x 14 x 17 in]
- With Spool: 345 x 430 x 430 mm [13.6 x 17 x 17 in]
- Shipping Box: 460 x 470 x 570 mm [18 x 18.5 x 22.4 in]
- Weight: 16 kg [35 lbs]
- Shipping weight: 25 kg [55 lbs]
Printing:
- Print technology: LPD - Layer Plastic Deposition
- Workspace: 200 x 200 x 180 mm [7.87 x 7.87 x 7.086 in]
- Layer resolution settings: 90-400 microns
- Material container: Spool
- Wall thickness Optimal: 800+ microns
- Resolution of single printable point: 400+ microns
- Material Diameter: 1.75 mm [0.069 in]
- Nozzle diameter: 0.4 mm [0.015 in]
- Minimum single positioning: 1.5 microns
- Positioning precision X/Y: 1.5 microns
- Z single step: 1.25 microns
- Extruder: Single
- Connectivity: SD card
- Available materials: Z-ABS, Z-ULTRAT, Z-HIPS, Z-GLASS, Z-PETG, Z-PCABS
Temperature:
- Extruder maximum temperature: 380° C [716° F]
- Heated platform: Yes
- Heated platform maximum temperature: 110° C [230° F]
- Ambient Operating Temperature: 20°-35° C [68°-95° F]
- Storage Temperature: 0°-35° C [32°-95° F]
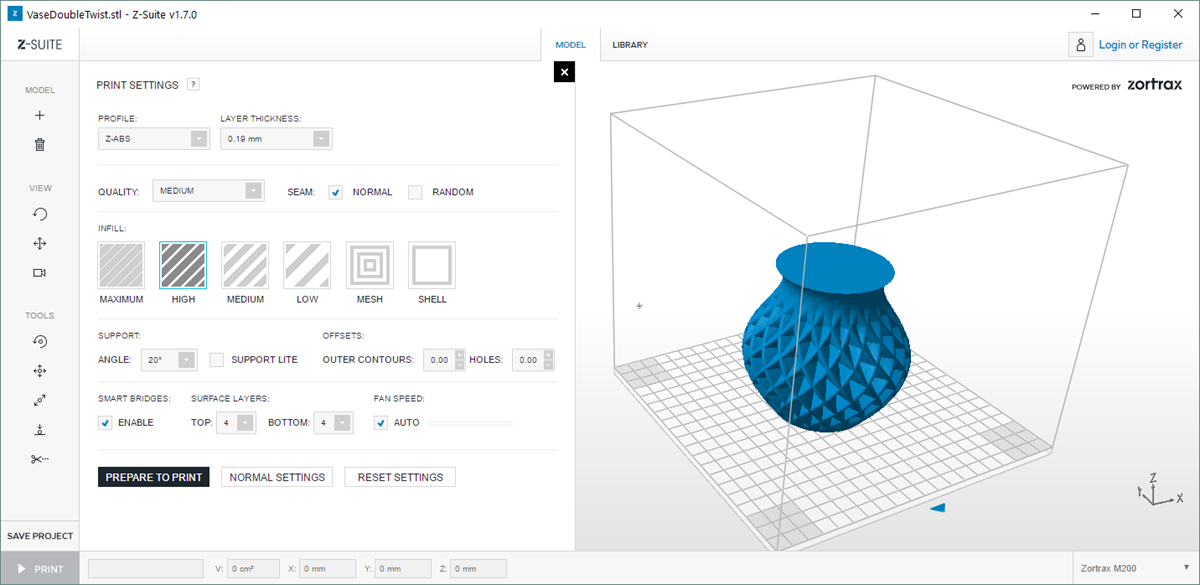
Software:
- Software Bundle: Z-Suite®
- File types: .stl, .obj, .dxf, .3mf
- Supports: Mac OS X / Windows 7 and newer versions
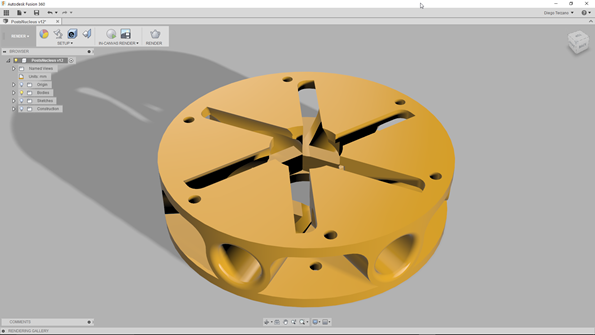
The printer performs admirably right out of the box, after some leveling and simple calibration you are ready to start testing your design skills. The design aspect is probably the most challenging to master. Things changed quite dramatically since my school days with AutoCAD. There ae many flavors nowadays. After some experimentation I decided to dig deeper into Fusion 360. It is an extremely capable CAD/CAM package from Autodesk. The feature set is quite vast and even though it carries a steep learning curve, that can be said about all capable 3D design tools. There are several free and open source alternatives to get started like FreeCAD, OpenSCAD and Blender. However, my preferred stack remains Fusion 360 and Meshmixer.
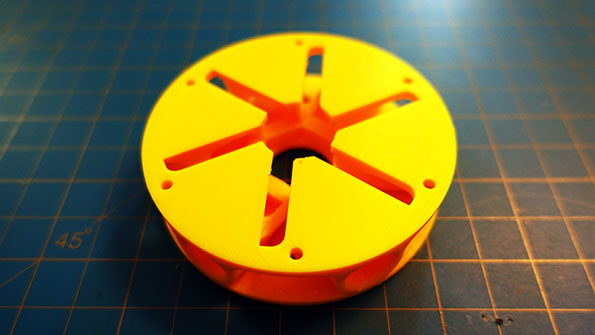
I like Fusion360’s all-in-one nature. The software allows to design, render, simulate and generate tool paths for CAM. As you can see below, the quality of the print is outstanding. The piece below was printed using ABS plastic which has similar characteristics as Lego pieces. I designed this part for use in a custom hexa-copter to provide exact 60 degree separation between motors.
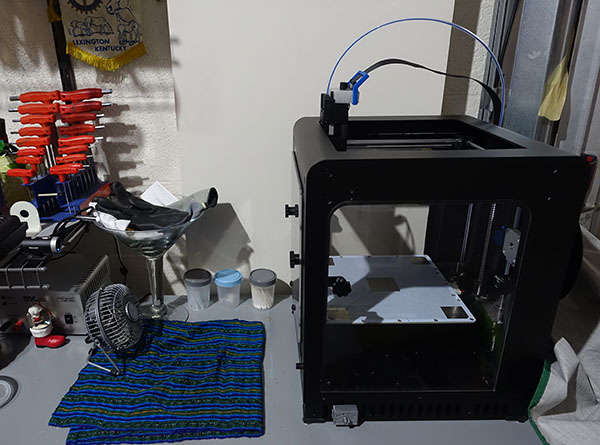
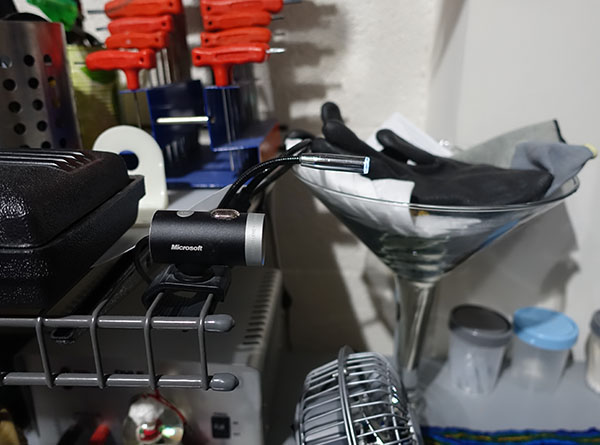
My setup consists of the Zortrax M200 and a Microsoft LifeCam Cinema attached to a Raspberry Pi 3 (more on this to follow). It allows me to monitor the prints remotely to track progress. I also performed several upgrades to the printer to be able to use PLA plastics that are not officially supported by Zortrax (more on this to follow)
3D Printing is growing tremendously and making incursions in a multitude of industries like culinary arts, fashion and even construction. The opportunities on this fast growing medium are magnificent. It takes creativity, passion and perseverance. You get to experiment with material science, learn about design and key concepts in structural integrity and above all you get to have lots of fun in the process. Have you made the leap into 3D printing yet?


No comments: